
2026-08-19 · Christopher James
Understanding Ice and Water Shield Placement on Low-Slope Roofs
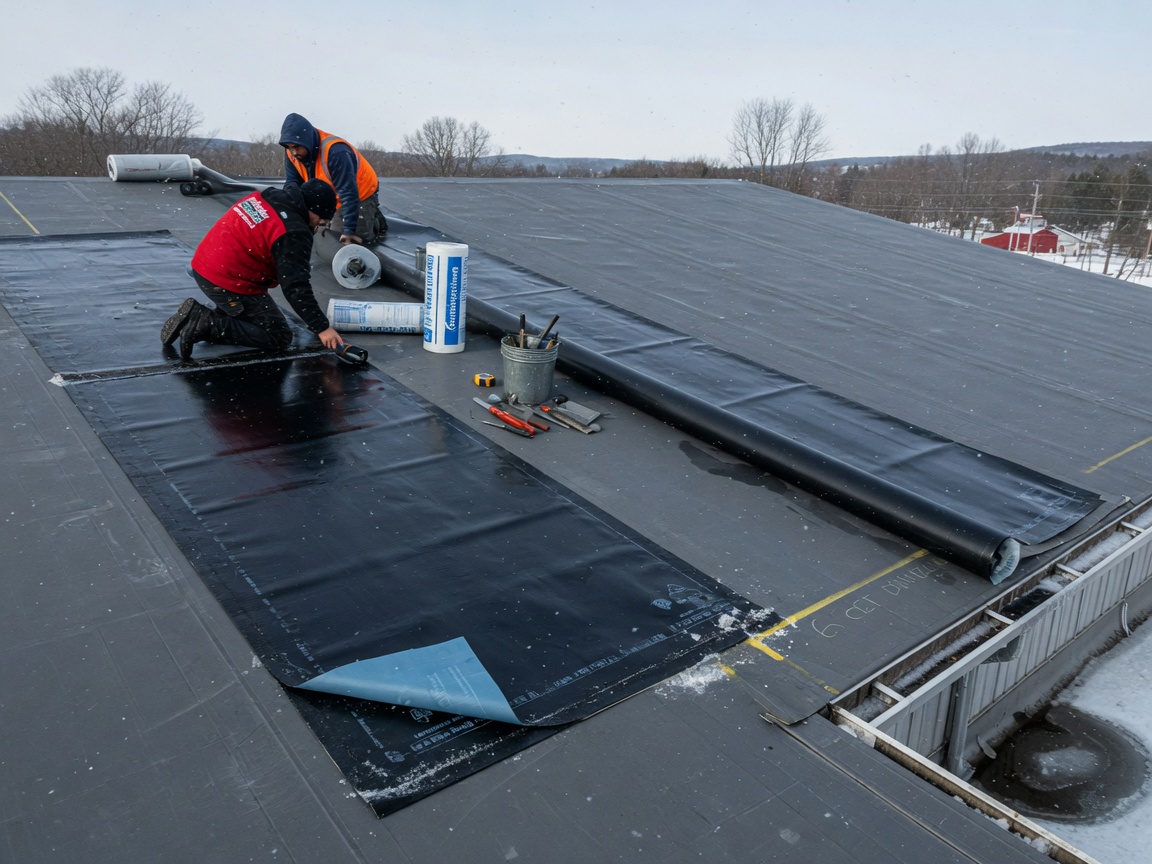
Ice and water shield on low-slope roofs in Fishkill must cover every square foot when the pitch drops below 2:12, with eaves protection extending at least 6 feet up the slope and full valley coverage to block ice dam water during Dutchess County winters.
Climate Demands in Fishkill and Dutchess County
Fishkill experiences a humid continental climate with cold winters that produce repeated freeze-thaw cycles. These cycles create ice dams along eaves and in valleys on low-slope roofs common to older homes near the Fishkill Supply Depot. Water backs up under shingles or membrane edges when temperatures swing between 20°F and 35°F. Ice and water shield creates a continuous waterproof layer that directs meltwater to gutters instead of into attics or wall cavities. Low-slope sections on commercial buildings in Brinckerhoff and Beacon require the membrane across the entire deck rather than just the lower courses used on steeper residential roofs.
Recommended Placement Zones and Overlaps
Start at the eaves and run the membrane 6 feet up the slope on any roof section pitched 2:12 or flatter. In valleys, extend the shield 18 inches past each side of the centerline. Overlap seams by 6 inches minimum and roll the material to remove air pockets that trap moisture. Around penetrations such as vents or skylights, carry the shield 12 inches up the sides and seal with compatible mastic. On sections near Wappingers Falls where wind-driven rain adds to winter loads, increase the eaves coverage to 8 feet. These dimensions match the actual roof geometry found in Fishkill's mix of 1960s ranches and newer low-pitch additions.
Integration with Flat Roof Repair and Inspections
Low-slope roofs often transition into modified bitumen or EPDM systems that benefit from ice and water shield as a secondary layer beneath flashings. During a roof inspection, crews check whether the membrane reaches the required height at all eaves and valleys before any new covering is installed. When leaks appear after storms, flat roof repair crews trace water paths back to gaps in the shield coverage rather than assuming the top membrane failed. This step-by-step verification keeps repairs targeted and prevents repeated callbacks in neighborhoods like East Fishkill.
Ventilation Ties and Long-Term Performance
Adequate attic ventilation works with the shield to reduce moisture buildup that can degrade the membrane over time. Homes showing signs of ventilation problems often develop ice dam issues even when shield placement is correct. Linking the two systems—shield at the deck and balanced intake-exhaust vents—extends service life on roofs exposed to Fishkill's warm summers followed by sudden cold snaps. Regular checks after installation confirm the shield remains adhered and seams stay sealed through seasonal movement.
Practical Steps During Installation
Measure the roof pitch at multiple points to confirm where full coverage begins. Cut the membrane to length so it lies flat without stretching. Nail only in the manufacturer's designated zones and cover those fasteners with the next course. On commercial low-slope jobs in Beacon, crews often use self-adhered versions that bond directly to the deck for added wind resistance. Final walkthroughs verify coverage at every transition before the primary roofing material goes down.